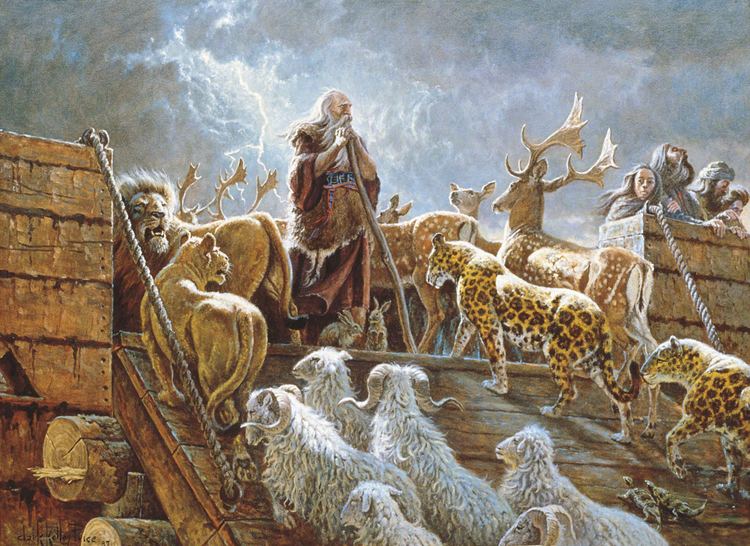
Building a Noah’s Ark model kit can be an enriching and enjoyable experience. Not only does it provide a creative outlet, but it also serves as a wonderful educational tool to explore themes of history, mythology, and craftsmanship. In this comprehensive guide, we will break down the steps required to successfully assemble your Noah’s Ark model kit, ensuring that you create a stunning representation of this iconic vessel.
Understanding Your Model Kit

Before diving into assembly, it’s important to familiarize yourself with the components of your Noah’s Ark model kit. Most kits will typically include:
- Pre-cut wooden or plastic pieces: These form the body and structure of the ark.
- Assembly instructions: A manual detailing step-by-step instructions for construction.
- Adhesives: Glue or other bonding agents required to hold pieces together.
- Finishing materials: Paint, varnish, or decals for customizing your model.
Understanding these components will help streamline the assembly process and ensure you have everything you need at hand.
Tools You Will Need

Before starting the assembly, gather the necessary tools to facilitate the process:
- Craft knife: For trimming excess material and precise cuts.
- Sandpaper: To smooth out edges and surfaces.
- Glue applicator: For precise application of adhesives.
- Paintbrushes: For applying paint and finishing touches.
- Clamps: To hold pieces together while the glue dries.
Having the right tools on hand will make the assembly of your Noah’s Ark model kit much easier and more efficient.
Step 1: Preparing Your Workspace
Setting up a clean, organized workspace is crucial for assembling your model kit. Follow these tips to create an ideal environment:
- Choose a flat surface: A table or desk that provides ample room for your model and tools.
- Good lighting: Ensure that your workspace is well-lit to see fine details.
- Organize materials: Lay out all pieces and tools in an orderly fashion to avoid confusion.
A well-prepared workspace can significantly reduce the likelihood of mistakes during assembly.
Step 2: Sorting the Parts
Before you begin assembling, sort the parts according to their assembly order. This will help you keep track of what you need as you progress. Check the instruction manual for the recommended assembly sequence and group the parts accordingly.
- Hull pieces: The main body of the ark.
- Deck components: The upper structure of the ark.
- Animal figurines: Depending on your kit, these may include a variety of animals.
Sorting components can save time and prevent frustration later in the assembly process.
Step 3: Assembling the Hull
Start with the hull, which is the foundation of your model. Follow these steps:
- Identify hull sections: Locate the pieces that form the base and sides of the ark.
- Apply glue: Use your glue applicator to apply a thin layer of adhesive to the edges of the hull pieces.
- Join pieces: Carefully align and press the pieces together, ensuring a snug fit.
- Use clamps: Secure the pieces with clamps to hold them in place while the glue dries.
It is essential to allow adequate drying time before moving on to the next step to ensure a sturdy structure.
Step 4: Constructing the Deck

Once the hull is secured, proceed to assemble the deck:
- Attach the deck pieces: Follow the instructions to place the deck onto the hull.
- Secure with glue: Apply adhesive between the deck and the hull, ensuring a waterproof seal if desired.
- Check alignment: Make sure the deck is centered and aligned properly before the glue dries.
Ensure the deck is securely attached, as it will support the weight of the animals and any additional features you wish to add.
Step 5: Adding Details and Features

This is where your creativity can shine! Most model kits come with various details to enhance the ark’s appearance. Consider the following:
- Windows and doors: Cut out or attach any window and door pieces included in your kit.
- Animal figurines: Place the animals inside or on top of the ark for a playful touch.
- Paint and finish: Use paint and varnish to give your model a polished look. Consider weathering techniques for a more realistic appearance.
Feel free to customize your ark to reflect your personal style or historical interpretation.
Step 6: Final Touches
After the major assembly is complete, take the time to add final touches:
- Inspect the model: Look for any loose parts or areas that need additional adhesive.
- Clean up excess glue: Use a craft knife or sandpaper to remove any dried adhesive that may be visible.
- Display considerations: If intended for display, consider a base or stand that complements your model.
Final touches can elevate your model from simple craftsmanship to a true work of art.
Assembling your Noah’s Ark model kit is not just about creating a replica; it’s an opportunity to engage with history, storytelling, and the art of model-making. By following the steps outlined in this guide—from preparing your workspace to adding final touches—you’re well on your way to completing a beautiful and meaningful project. Remember to take your time, enjoy the process, and feel free to express your creativity in every detail you add.
Whether you’re a beginner or an experienced model builder, this project can offer a rewarding experience that also serves as a conversation starter. Display your finished ark proudly and share the story of its creation, as well as the historical significance behind it. Happy building!


:max_bytes(150000):strip_icc()/Pink-Ladies-121422-968d2c88643846d6a7c9f095531da656.jpg)